Brickwork Setup and Support

Learn how to set up and customize Brickwork.

Configure Page Layouts

Part 4 – Configure Page Layouts 

This section is going to take us step by step on how to configure iATS within your current page layouts in salesforce. The iATS button can be added to the Contact, Account, Opportunity/Donation and NPSP Recurring Donation page layouts.

4.1 NPSP Payments Page Layout 


1.

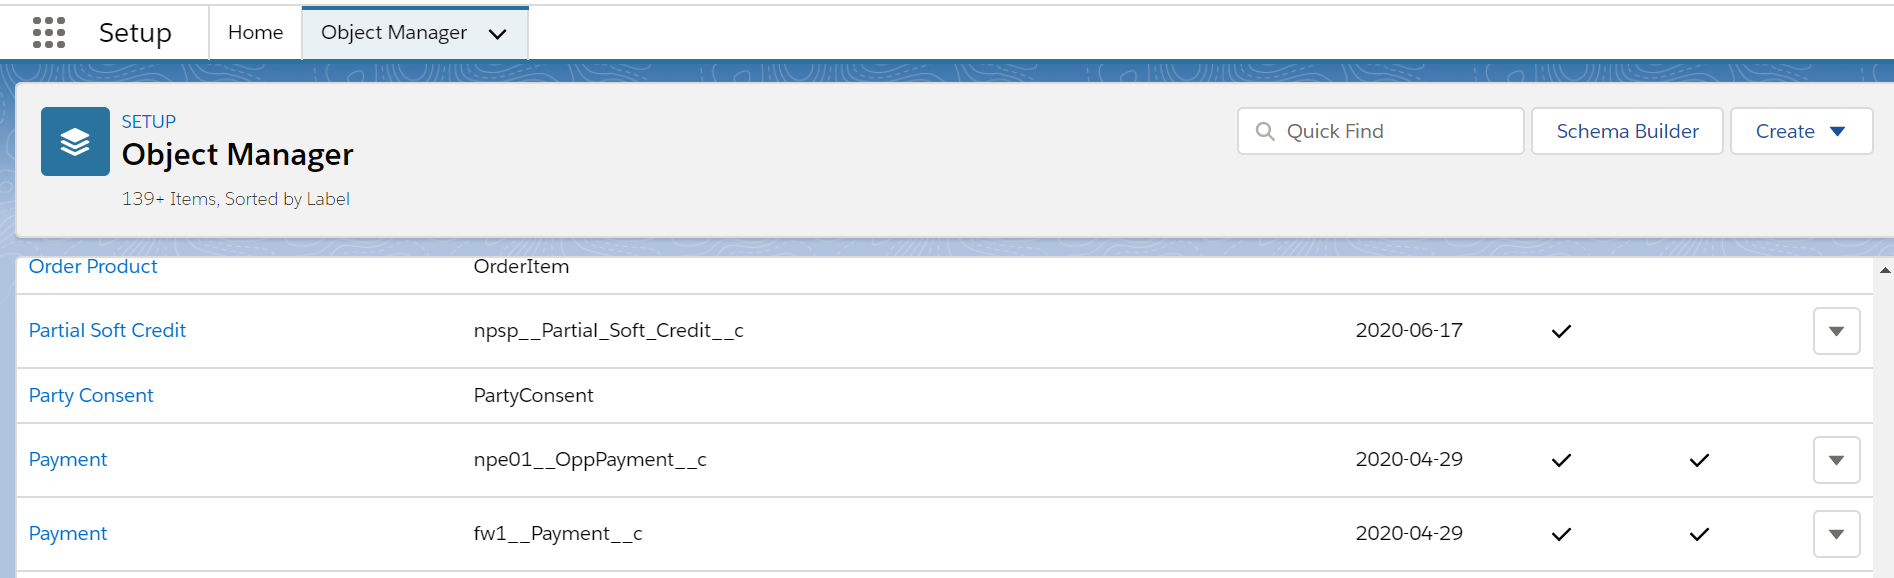
Using the Object Manager in Salesforce Setup, locate the Payments object. Note: this is not done in Brickwork App. Also there might be multiple Payments objects depending on your setup. Please choose the one that has the value ‘npe01__OppPayment__C’ in the second column with heading ‘API Name’


Payment in page layout


2.

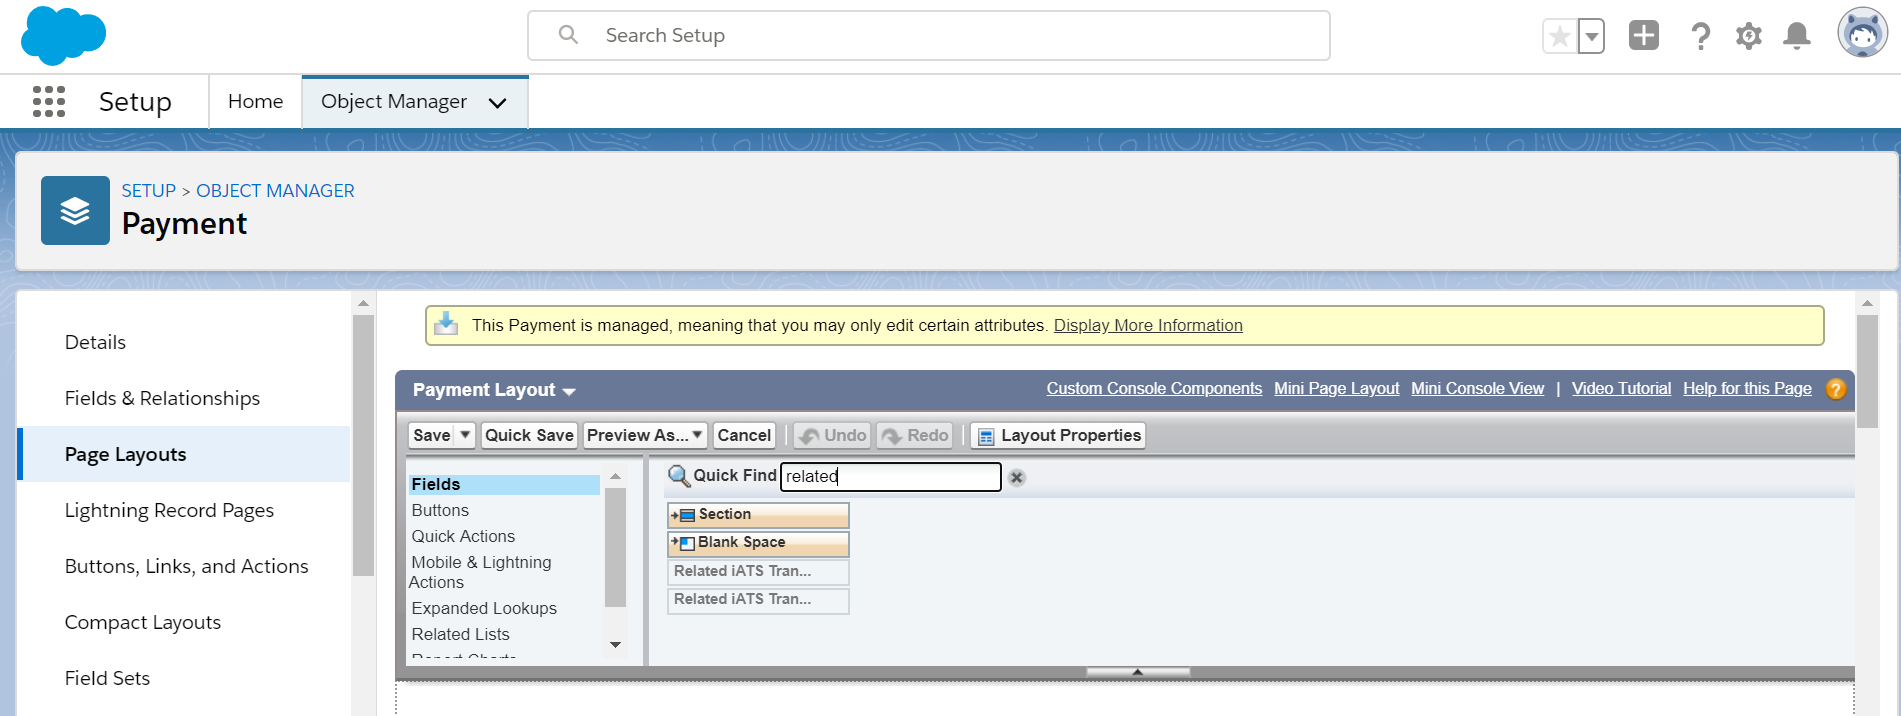
Click on ‘Page layouts’ on left side panel and then choose ‘Payment layout’ (or the applicable page layout) from the right-side panel.

3.

Search for the ‘Related iATS Transaction’ and ‘Related iATS Transaction Status’ fields in the ‘quick find’ search bar.


Payment in page layout 2


4. Drag each field into the ‘Payment detail’ section just below that and add it anywhere in that section. Remember to do this for both ‘Related iATS Transaction’ and ‘Related iATS Transaction Status’ fields
5. Hit save


4.2 NPSP Recurring Donations Layout 


  1. Using the Object Manager in Salesforce Setup, locate the Recurring Donations object. Note: this is not done in Brickwork App.
  2. Click on ‘Page layouts’ on left side panel and then choose ‘Recurring Donation layout’ (or the applicable page layout) from the right-side panel.
  3. Search for ‘iATS’ (Mobile & Lightning Actions) to find the iATS button which opens the virtual terminal to collect payments. Another way to locate this button is under the ‘Mobile and Lightning Actions’ section.
  4. Once you locate the ‘iATS’ field, drag it down to the ‘Salesforce Mobile and Lightning Experience Actions’ area.
  5. Lastly, hit save.

Now the IATS button/action will be viewable on the recurring donations page layout.

4.3 Configure Contact Layout 


  1. Using the Object Manager in Salesforce Setup, locate Contacts object.
  2. From contacts, select ‘Page layouts’ on the left side panel.
  3. On the right-side panel, choose the applicable page layout in the list.
  4. Search for ‘iATS’ (Mobile & Lightning Actions) to find the iATS button which opens the virtual terminal to collect payments. Another way to locate this button is under the ‘Mobile and Lightning Actions’ section.
  5. Once you locate the ‘iATS’ field, drag it down to the ‘Salesforce Mobile and Lightning Experience Actions’ area.
  6. Now add the ‘iATS transactions’ and ‘iATS customer codes’ related lists to the page layout. Simply drag them to the related lists section and configure their layout via the small wrench icon.
  7. Lastly, hit save.

4.4 Configure Opportunity/Donation Page Layout 


  1. Using the Object Manager in Salesforce Setup, locate Opportunity object.
  2. From contacts, select ‘Page layouts’ on the left side panel.
  3. On the right-side panel, choose the last opportunity layout in the list.
  4. Search for ‘iATS’ to find the iATS button which is the virtual terminal to collect payments. Another way to locate this button is under the ‘Mobile and Lightening Actions’ section.
  5. Once you locate the ‘iATS’ field, drag it down to the ‘Salesforce Mobile and Lightning Experience Actions’ area.
  6. Now add some related fields from the related fields section. We will be adding iATS transactions’ and iATS customer codes’ lists by dragging it to anywhere in the area below. These can be assorted any way you like to see on salesforce.
  7. Lastly, hit save 

4.5 Configure IATS Transaction 


  1. Using the Object Manager in Salesforce Setup, locate ‘IATS Transaction’ object.
  2. From IATS Transaction, select ‘Page layouts’ on the left side panel. On the right-side panel, choose Transaction Layout.
  3. Here we will add ‘payments’ from the related fields section. Drag the payments field to any section before. These can be assorted any way you like to see on salesforce.
  4. Lastly, hit save 
Contact us