Learn how to set up payment pages, change design settings, understand reporting and metrics, and dive into advanced features of Page Builder.

Adding Social Media sharing & Facebook Like buttons to your page is a great way to exponentially multiply the number of people exposed to your cause. Choose from the major Social Media sites by selecting the checkbox for each one.
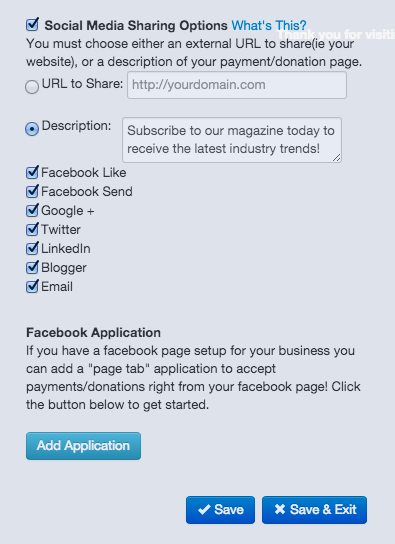
The Facebook application gives you the ability to add the donation or payment page as an application (or page) on your Facebook page. To set this up, follow these steps:
| 1. | Click the blue Add Application button. |
| 2. | You will be prompted to log into your Facebook. Enter your login credentials and click Log In. If already logged in, continue to the next step. |
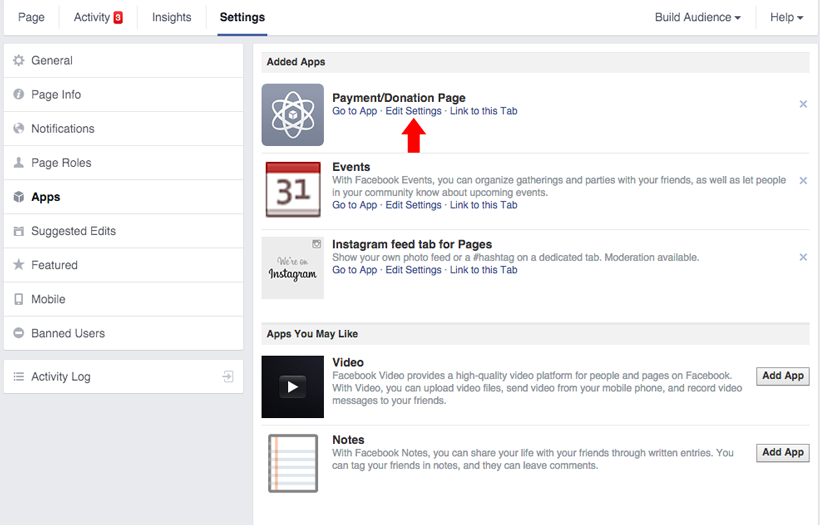
| 3. | In the top navigation, select Settings. |
| 4. | In the left-hand navigation, click Apps. |
| 5. | Click Edit Settings under the Payment/Donation Page. |
| 6. | Next to custom tab image, click Change. |
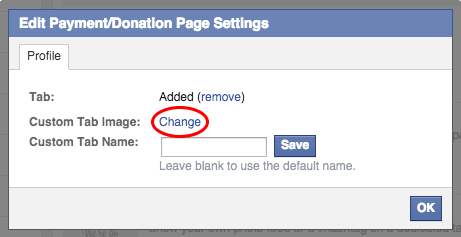
| 7. | Click Browse to search for the image to be used. The file can be a JPG, GIF or PNG. If the image is larger than 111x74 pixels, it must be resized and converted. The file size must be 5MB or under. Select the image you'd like to use for the Payment Page Tab on your Facebook page. |
You can display your payment page closer to the left hand side of the page under your cover photo by completing the following steps:
| 1. | In the top menu on your Facebook page, click More, and select Manage Tabs. |
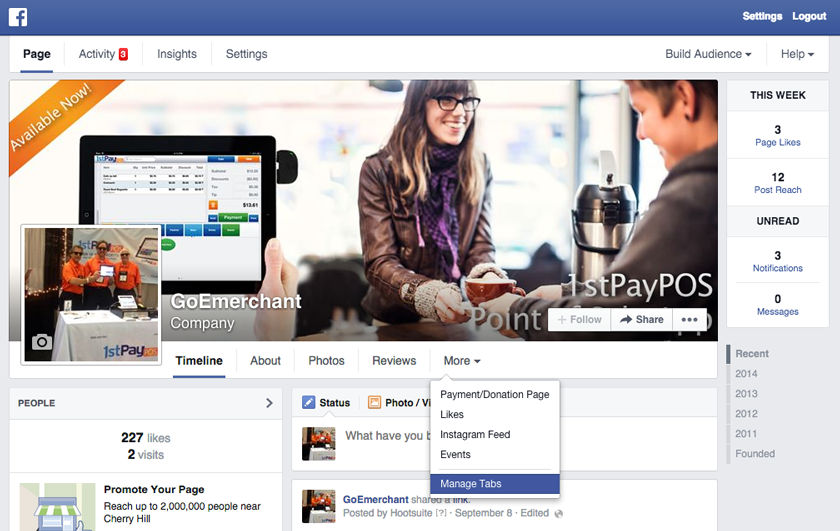
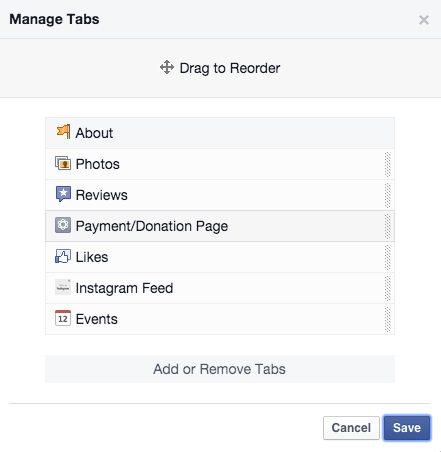
| 2. | A window will appear that allows you to drag the order of tabs. Click your Payment/Donation Page App, and drag it to the position you'd like.. |
| 3. | Click Save. |
For more assistance with Facebook, please visit this page.
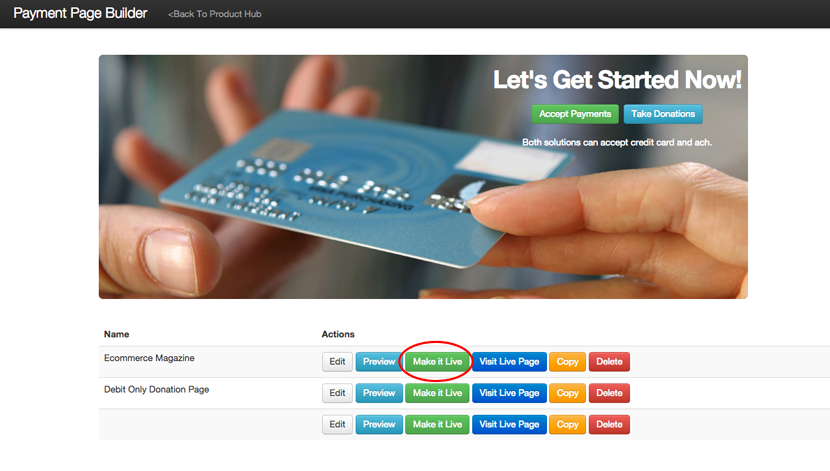
When you are finished making changes, you must manually put your page live so that your changes are visible to the public. To do so:
