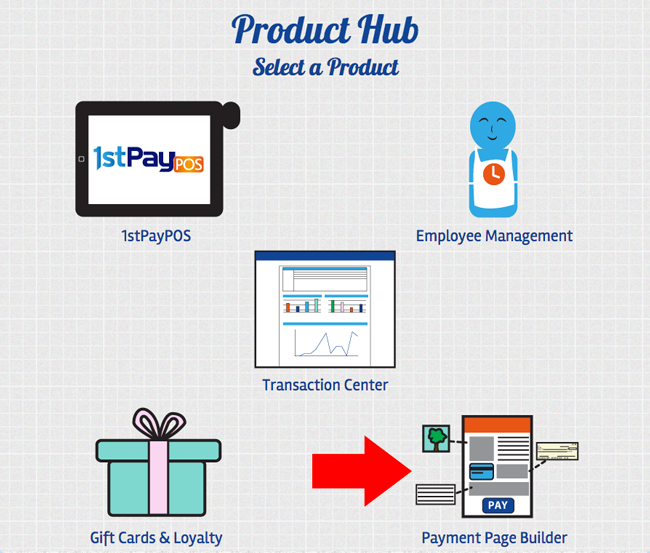
Learn how to set up payment pages, change design settings, understand reporting and metrics, and dive into advanced features of Page Builder.


You have the ability to create either a Payment or Donation Page. Payment pages are used for clients charging a certain amount for a service, product or event. Donation pages are used to accept a customer-designated amount. To create a Payment or Donation Page:
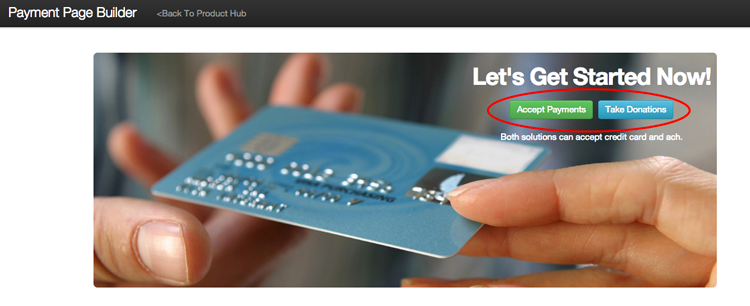
| 1. | In the top banner image, there are 2 buttons: Accept Payments and Take Donations. If you'd like to create a payment page, select Accept Payments. If you'd like the page to be a donation page, select Take Donations. |

| 2. | After creating the page, you will want to explore the 4 Setup tabs and make all desired configurations. There is a separate support article for each of these tabs. Browse these links to get more information on each: |
| - General Settings Tab |
| - Design Tab |
| - Custom Fields |
| - Advanced Tab |
When you are finished making changes, you must manually put your page live so that your changes are visible to the public. To do so:
| 1. | Click Save & Exit at the bottom of your Payment Page editor. You may also click Go Back in the top navigation. |
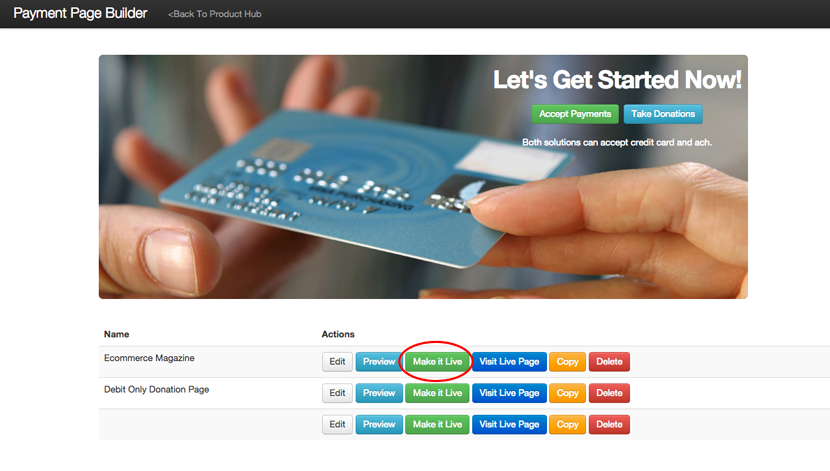
| 2. | You will see all of your payment pages listed below the banner image. Next to the one you'd like to make live, click Make it Live. |
| 3. | Your changes are now live! You may click Visit Live Page to see the live page. |
| 4. | You may continue editing your page at any time. |
